To build a stud wall, you mark the wall position on the floor and ceiling, fix a bottom plate and top plate in line, install vertical studs at 450mm or 600mm centres, brace them with noggings and frame any door openings before lining with plasterboard. Building a non-load bearing stud wall this way is a manageable project for confident DIYers. Building a load bearing stud wall is different, as it needs engineering design, approval and a licensed builder.
The steps below focus on internal partition walls and follow the framing practices used for building stud walls in Australia. For background on framing members, see our guide on what a stud in the wall is.
Tools and Materials You'll Need
- Framing: MGP10 structural pine (70 x 35mm or 90 x 35mm for partitions) or galvanised steel studs and track.
- Fixings: 75mm framing nails or screws, concrete screws for slab floors and slotted truss brackets.
- Tools: Tape measure, chalk line, laser or spirit level, stud finder, drop saw, framing gun or hammer, drill and clamps.
- Lining: 10mm or 13mm plasterboard, adhesive and insulation batts.
- Safety gear: Safety glasses, gloves, hearing protection and a dust mask.
Explore more framing and lining products in our essential building materials list.
How to Build a Stud Wall?
Step 1: Mark the Floor Line
Scan the floor, ceiling and adjoining walls for hidden cables and pipes. Measure from an existing wall at both ends of the new wall and snap a chalk line between the marks. Use a square to confirm the new wall meets existing walls at 90 degrees.
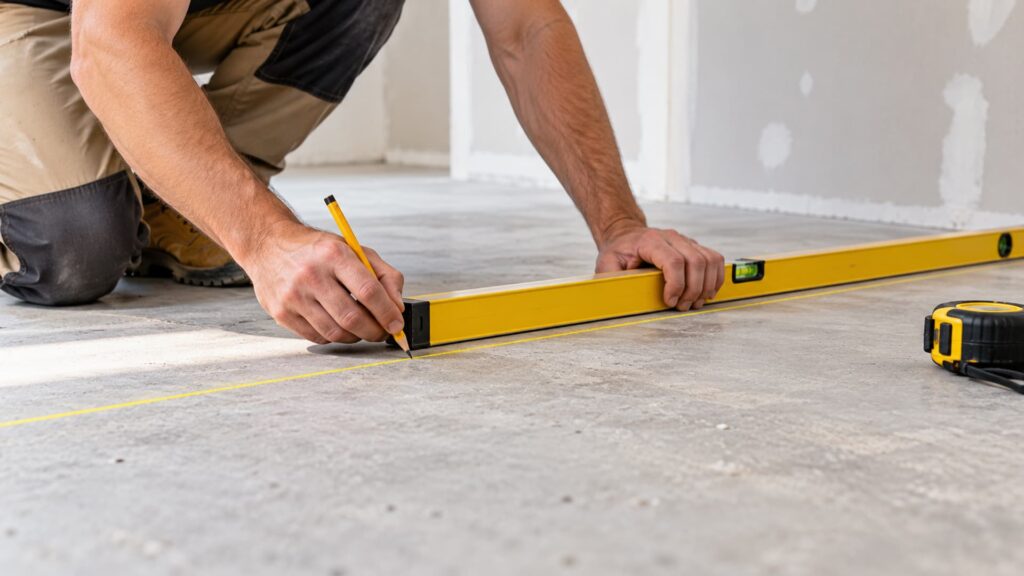
Step 2: Transfer the Line to the Ceiling
Use a laser level or plumb bob to project each end of the floor line straight up to the ceiling, then snap a matching chalk line. This keeps the finished wall perfectly vertical.
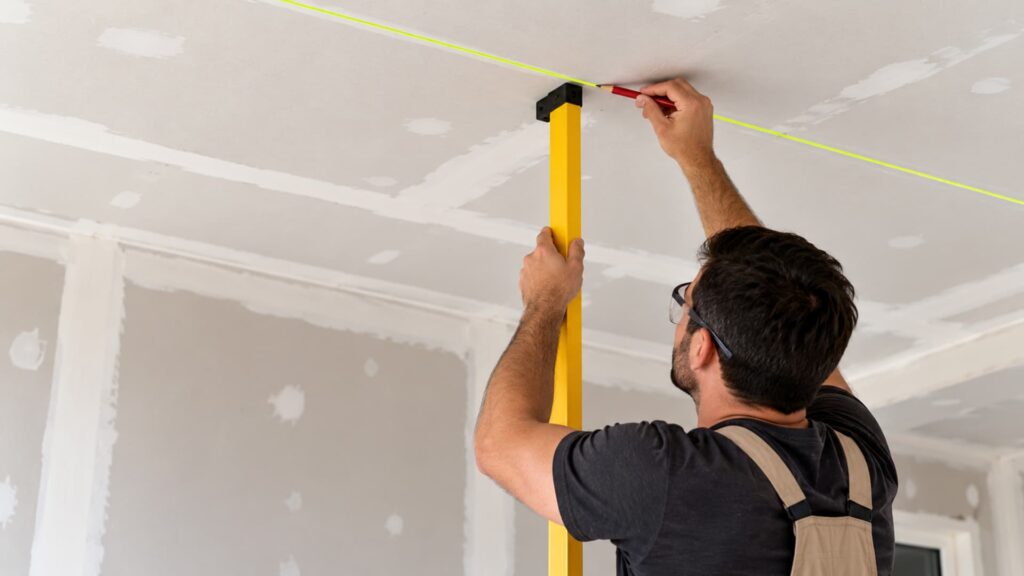
Step 3: Cut and Mark the Plates
Cut the top and bottom plates to length, clamp them together and mark stud positions across both at once. Space studs at 450mm or 600mm centres so 1200mm wide plasterboard sheets join on the centre of a stud. Mark any door openings at this stage.
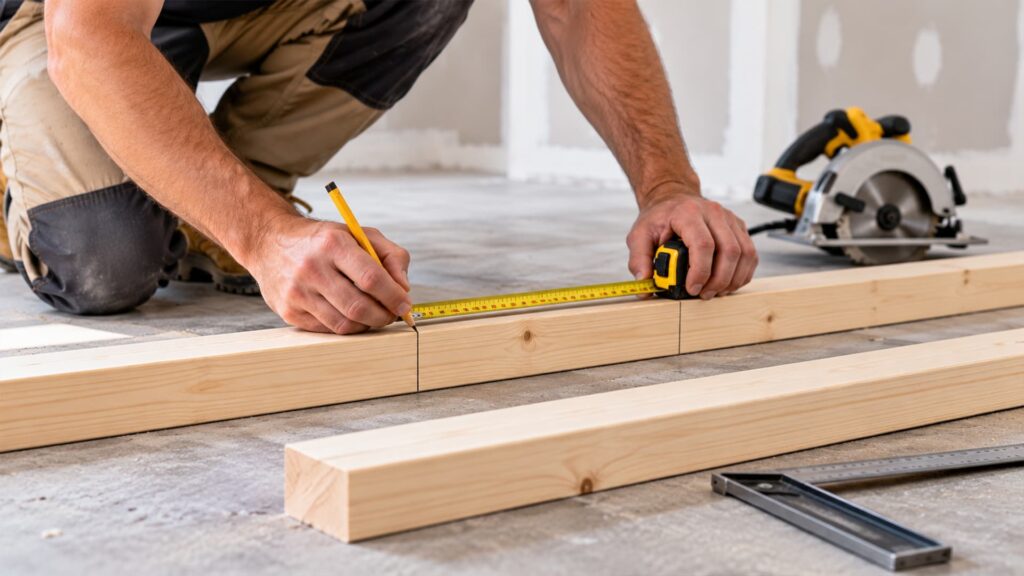
Step 4: Fix the Bottom Plate
On a concrete slab, fix the plate with concrete screws or masonry anchors every 600mm to 900mm. On timber floors, screw into the floor joists. Leave the plate running through doorways for now, as it keeps the frame aligned during construction.
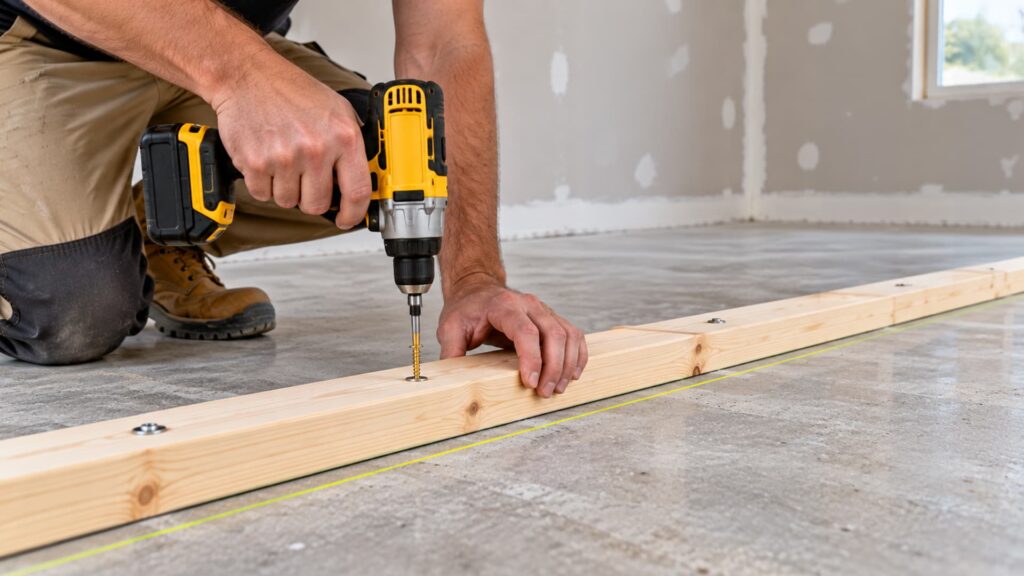
Step 5: Fix the Top Plate
Fix the top plate into ceiling joists along your chalk line. If the joists run parallel to the wall, install timber blocking between them first to create fixing points. Under roof trusses, use slotted truss brackets so the trusses can move naturally without cracking the wall.
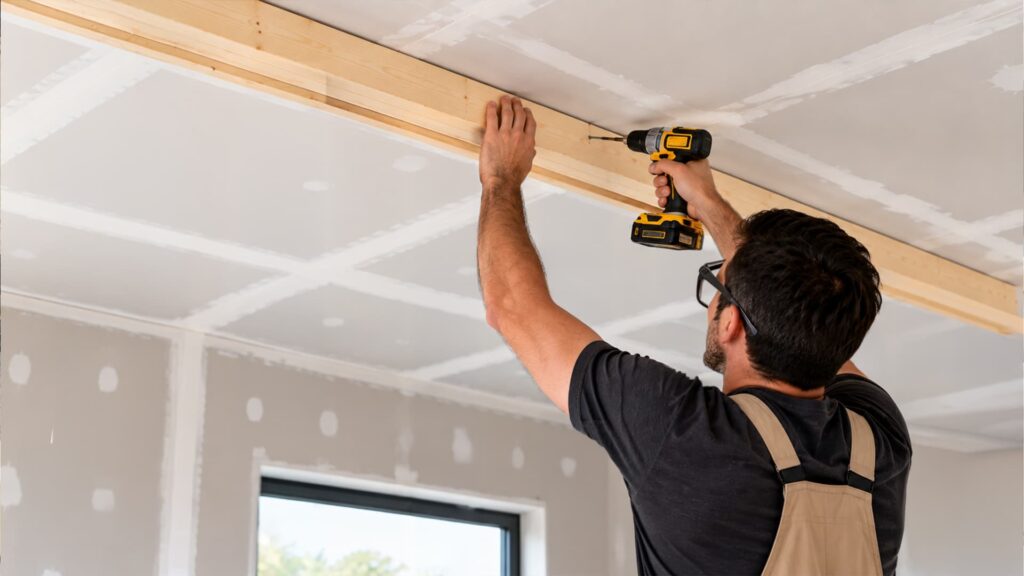
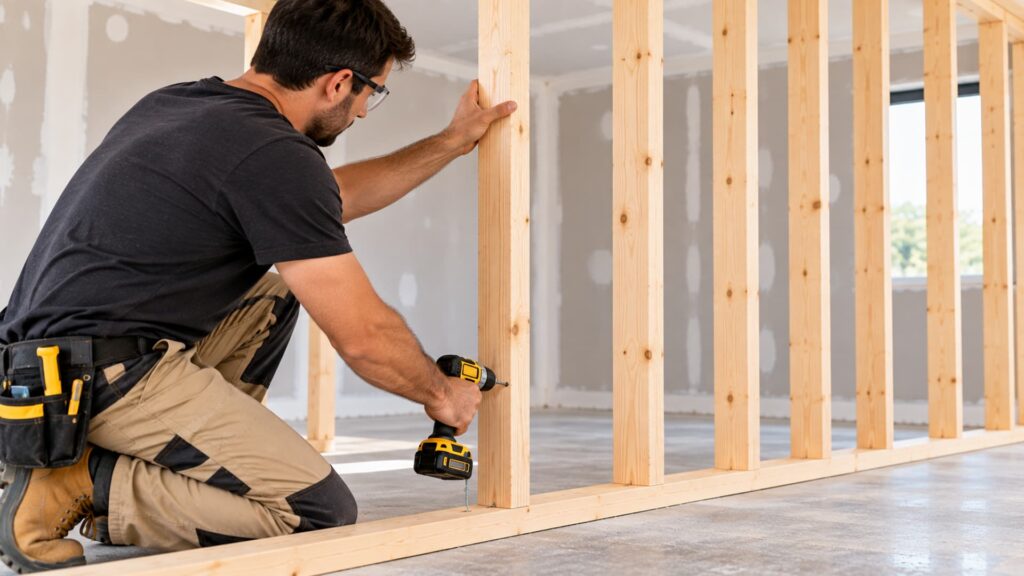
Step 6: Install the Studs
Measure the gap between plates at every stud position, as floors and ceilings are rarely level. Cut each stud for a snug fit, tap it into place and skew nail or screw it to both plates. Check each stud is plumb on two faces before fixing.
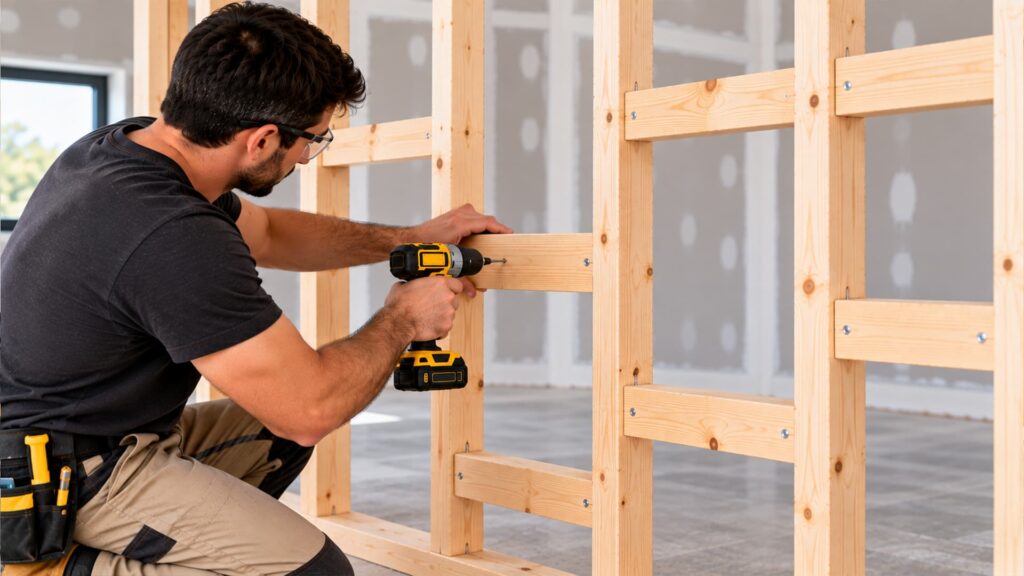
Step 7: Add Noggings
Fix noggings between studs at no more than 1350mm centres, which means one row for a standard 2.4m wall and two rows for taller walls. Stagger them slightly for easier nailing, and add extra noggings wherever you plan to mount a TV, cabinets or shelving.
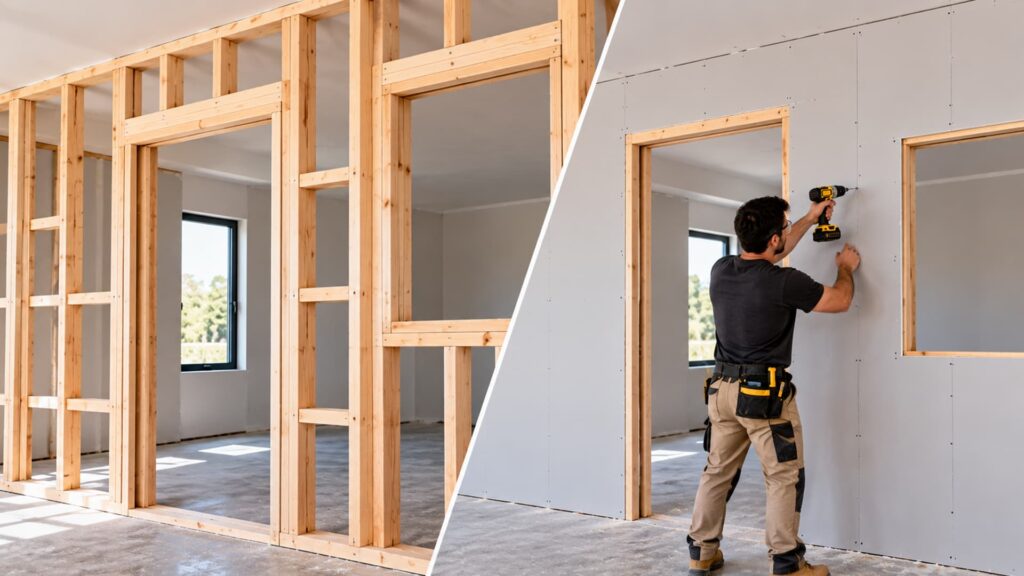
Step 8: Frame Openings and Line the Wall
Fix full height studs either side of a doorway, add jamb studs to the correct opening width and install a head across the top. Then cut out the bottom plate within the opening. Once licensed trades complete any electrical or plumbing rough in, fit insulation and line both sides with plasterboard.
Building Stud Walls in Australia: Key Rules
Timber framing in Australia follows AS 1684 and the National Construction Code. Non load bearing partitions are usually treated as minor work, but approval rules vary between states and territories, so check with your local council or a building certifier. Walls in bathrooms and laundries also need waterproofing that meets AS 3740.
Frequently Asked Questions
How thin can a stud wall be?
The thinnest practical stud wall uses 51mm or 64mm steel studs with 10mm plasterboard on each side, giving a finished thickness of about 71mm to 84mm. In timber, 70 x 35mm studs create a wall of roughly 90mm.
How thick is a stud wall?
A standard Australian internal stud wall is about 110mm to 116mm thick, using 90mm studs lined with 10mm or 13mm plasterboard on both sides. External and load bearing walls are usually thicker due to larger framing and cladding.
How long does it take to build a stud wall?
A simple partition wall of 3 to 4 metres can usually be framed in a day. Lining, setting and painting typically add another two to four days, allowing for plaster drying time.
Is timber or steel better for a stud wall?
Timber is easier to cut and fix into, making it ideal for small jobs and renovations. Steel is straighter, lighter and termite resistant, but heavy items need rated cavity anchors or backing.
Planning a Bigger Change to Your Home?
A partition wall is a rewarding project, but structural walls and layout changes are best left to professionals. If you’re planning house renovations in Canberra or a house extension, the team at Abode Constructions can help. Contact us to discuss your project.